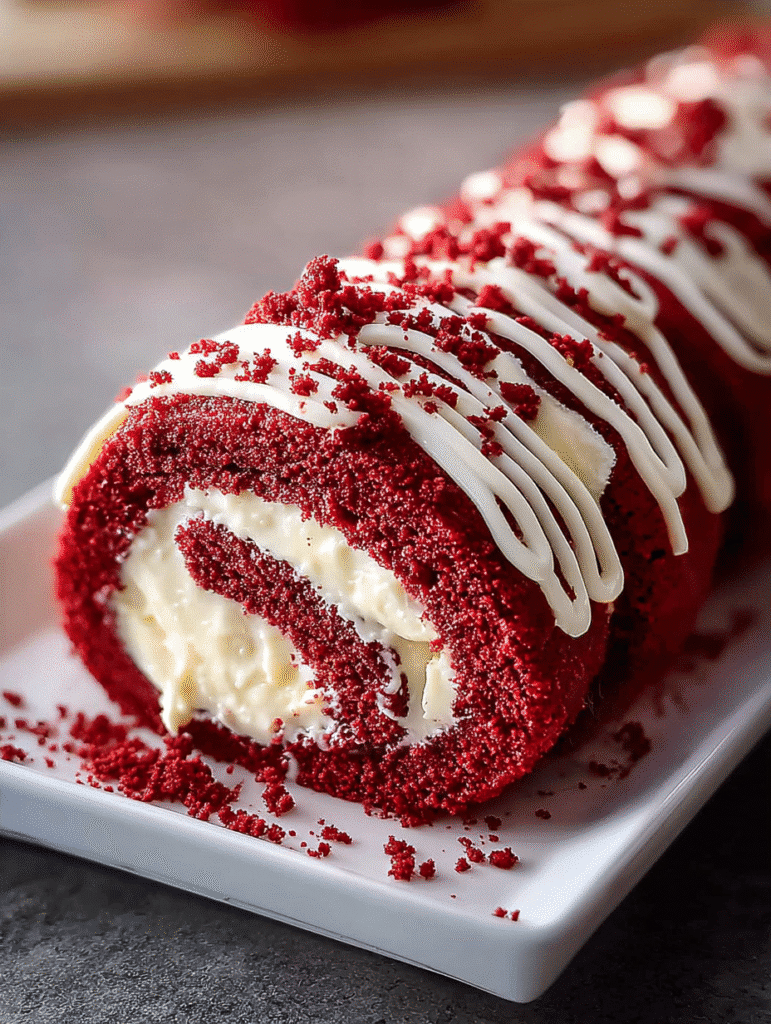
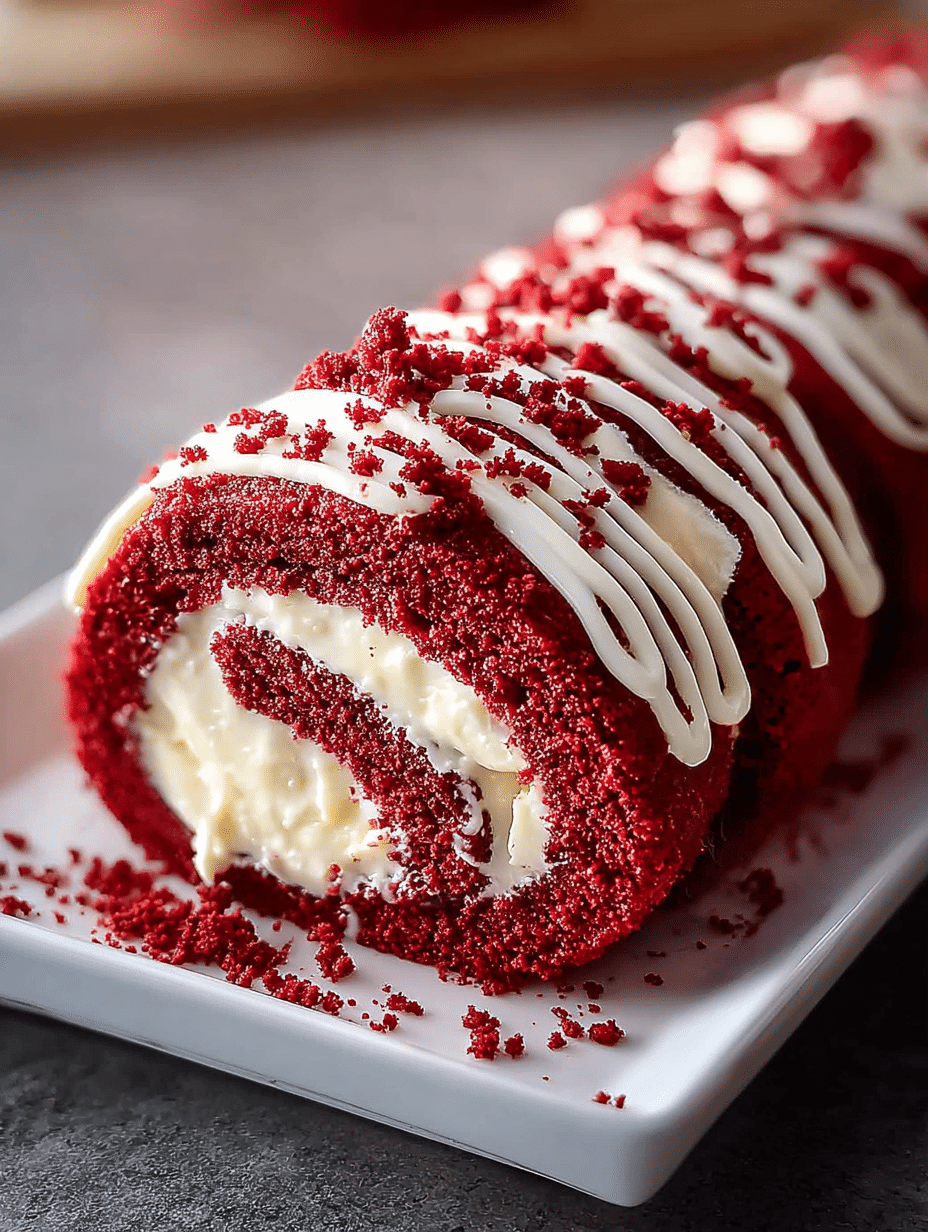
Introduction to Red Velvet Cake Roll with Cream Cheese Filling
There’s something magical about a Red Velvet Cake Roll with Cream Cheese Filling that makes my heart skip a beat. It’s not just a dessert; it’s a celebration on a plate! Whether you’re looking to impress guests at a gathering or simply treat yourself after a long day, this delightful roll is the answer. The vibrant red hue and creamy filling create a visual feast, while the flavors dance on your palate. Plus, it’s surprisingly easy to whip up, making it a perfect solution for busy days or special occasions. Let’s dive into this delicious adventure!
Why You’ll Love This Red Velvet Cake Roll with Cream Cheese Filling
This Red Velvet Cake Roll with Cream Cheese Filling is a true crowd-pleaser! It’s not only stunning to look at but also incredibly easy to make. In just under two hours, you can create a dessert that tastes like it came from a fancy bakery. The rich, velvety cake paired with the creamy filling is a match made in heaven. Trust me, every bite will leave you and your loved ones craving more!
Ingredients for Red Velvet Cake Roll with Cream Cheese Filling
Gathering the right ingredients is the first step to creating your stunning Red Velvet Cake Roll with Cream Cheese Filling. Here’s what you’ll need:
- All-purpose flour: This is the backbone of your cake, providing structure and texture.
- Unsweetened cocoa powder: Just a touch adds depth to the flavor without overpowering the sweetness.
- Baking powder: This helps the cake rise, giving it that light and airy feel.
- Baking soda: A little boost for the cake, ensuring it’s fluffy and tender.
- Salt: Enhances the flavors and balances the sweetness.
- Large eggs: They bind everything together and add moisture.
- Granulated sugar: Sweetness is key! It also helps with the cake’s texture.
- Vegetable oil: Keeps the cake moist and tender, making each bite melt in your mouth.
- Vanilla extract: A splash of this adds warmth and enhances the overall flavor.
- Distilled white vinegar: This reacts with the baking soda, helping the cake rise beautifully.
- Buttermilk: Adds a tangy flavor and keeps the cake moist.
- Red food coloring: The star of the show! It gives the cake its signature vibrant hue.
- Cream cheese: The creamy filling that makes this dessert irresistible.
- Powdered sugar: Sweetens the filling and gives it a smooth texture.
- Unsalted butter: Adds richness to the filling, making it even more decadent.
- Whipped cream (optional): For a lighter, fluffier filling, fold in some whipped cream.
- White chocolate drizzle: A beautiful finishing touch that adds sweetness and elegance.
- Red velvet crumbs: Perfect for decoration, adding a pop of color and texture.
For exact measurements, check the bottom of the article where you can find everything listed for easy printing. Happy baking!

How to Make Red Velvet Cake Roll with Cream Cheese Filling
Now that you have all your ingredients ready, let’s dive into the fun part: making this stunning Red Velvet Cake Roll with Cream Cheese Filling! Follow these simple steps, and you’ll be on your way to creating a dessert that will wow everyone.
Step 1: Preheat and Prepare
First things first, preheat your oven to 350°F (175°C). While it warms up, grab a 10×15-inch jelly roll pan and line it with parchment paper. This will help your cake roll out smoothly later on. Trust me, you don’t want to skip this step!
Step 2: Mix Dry Ingredients
In a medium bowl, sift together the all-purpose flour, cocoa powder, baking powder, baking soda, and salt. Sifting is key here; it helps to aerate the flour and ensures a light, fluffy cake. Plus, it’s a great way to get rid of any lumps!
Step 3: Combine Wet Ingredients
In another bowl, beat the eggs and granulated sugar together until the mixture is pale and fluffy. This usually takes about 3-5 minutes. Then, add in the vegetable oil, vanilla extract, distilled white vinegar, buttermilk, and red food coloring. Mix until everything is well combined. The vibrant color will make your heart sing!
Step 4: Combine Mixtures
Now, gently fold the dry ingredients into the wet mixture. Use a spatula and be careful not to overmix. You want a smooth batter, but a few lumps are okay. This is where the magic begins, as the colors and flavors meld together!
Step 5: Bake the Cake
Spread the batter evenly into your prepared pan. Bake for 12-14 minutes, or until the cake springs back when lightly touched. Keep an eye on it; you want it to be just right, not overbaked!
Step 6: Roll the Cake
Once baked, remove the cake from the oven and immediately invert it onto a clean kitchen towel dusted with powdered sugar. Peel off the parchment paper gently. While it’s still warm, roll the cake up with the towel from the short end. This helps it hold its shape. Let it cool completely in this rolled position.
Step 7: Prepare the Filling
While the cake cools, let’s whip up that delicious cream cheese filling! In a mixing bowl, beat the softened cream cheese, unsalted butter, powdered sugar, and vanilla extract until smooth and creamy. If you want a lighter texture, fold in some whipped cream at this stage. It’s like a cloud of happiness!
Step 8: Fill and Roll
Once the cake is completely cool, gently unroll it. Spread the cream cheese filling evenly across the surface, leaving a small border around the edges. Then, re-roll the cake tightly without the towel. This is where the magic happens, as you create that beautiful swirl!
Step 9: Chill and Decorate
Chill the rolled cake in the refrigerator for at least an hour. This helps it set and makes slicing easier. When you’re ready to serve, drizzle with melted white chocolate and sprinkle with red velvet crumbs for that extra flair. Slice into rounds, and get ready to enjoy this rich, creamy, and stunning dessert!
Tips for Success
- Make sure your eggs are at room temperature for better mixing.
- Don’t skip the sifting step; it ensures a light and airy cake.
- Use a clean towel dusted with powdered sugar to prevent sticking.
- Let the cake cool completely before adding the filling to avoid melting.
- For a fun twist, try adding nuts or chocolate chips to the filling!
Equipment Needed
- Jelly roll pan: A 10×15-inch pan is ideal, but a similar-sized baking sheet works too.
- Parchment paper: Essential for easy removal; aluminum foil can be a substitute.
- Mixing bowls: Use any size, but a large bowl is best for mixing.
- Electric mixer: A hand mixer or whisk will do if you prefer a workout!
- Spatula: A rubber spatula is perfect for folding and spreading.
Variations
- Chocolate Red Velvet: Add a bit more cocoa powder to enhance the chocolate flavor for a richer taste.
- Nutty Delight: Fold in chopped walnuts or pecans into the cream cheese filling for a delightful crunch.
- Gluten-Free Option: Substitute all-purpose flour with a gluten-free blend to make this dessert suitable for gluten-sensitive friends.
- Vegan Twist: Use flax eggs and a dairy-free cream cheese alternative for a vegan-friendly version.
- Fruit Infusion: Add a layer of fresh raspberries or strawberries between the cake and filling for a fruity surprise!
Serving Suggestions
- Pair with a scoop of vanilla ice cream for a delightful contrast in temperature and texture.
- Serve alongside a cup of freshly brewed coffee or a rich hot chocolate.
- Garnish with fresh berries for a pop of color and a hint of tartness.
- Present on a beautiful platter, drizzled with extra white chocolate for an elegant touch.
FAQs about Red Velvet Cake Roll with Cream Cheese Filling
As I’ve shared my love for this Red Velvet Cake Roll with Cream Cheese Filling, I often get questions from fellow baking enthusiasts. Here are some of the most common queries I’ve encountered, along with my answers to help you on your baking journey!
Can I make this cake roll ahead of time?
Absolutely! You can prepare the cake roll a day in advance. Just make sure to store it in the refrigerator after chilling. This allows the flavors to meld beautifully!
What can I use instead of red food coloring?
If you prefer a natural alternative, beet juice can be a great substitute. It gives a lovely color without the artificial additives. Just be mindful that it may alter the flavor slightly.
How do I store leftovers of the Red Velvet Cake Roll with Cream Cheese Filling?
Store any leftovers in an airtight container in the refrigerator for up to three days. Just be sure to slice it as needed to keep it fresh!
Can I freeze the Red Velvet Cake Roll?
Yes, you can freeze the cake roll! Wrap it tightly in plastic wrap and then in aluminum foil. It can last up to three months in the freezer. Just thaw it in the fridge before serving.
What can I serve with the Red Velvet Cake Roll?
This cake roll pairs wonderfully with a scoop of vanilla ice cream or a dollop of whipped cream. Fresh berries also add a delightful touch!
Final Thoughts
Creating a Red Velvet Cake Roll with Cream Cheese Filling is more than just baking; it’s about crafting memories. Each slice reveals a swirl of rich flavors and creamy goodness that brings smiles to faces. Whether it’s a birthday celebration or a cozy family dinner, this dessert is sure to steal the show. I love how it combines elegance with simplicity, making it accessible for any home cook. So, roll up your sleeves, embrace the joy of baking, and let this delightful treat become a cherished part of your culinary adventures. Happy baking!
Print
Red Velvet Cake Roll with Cream Cheese Filling delights every bite!
- Total Time: 1 hour 44 minutes
- Yield: 8 servings 1x
- Diet: Vegetarian
Description
A delightful Red Velvet Cake Roll filled with creamy cream cheese filling, perfect for any occasion.
Ingredients
- ¾ cup all-purpose flour
- 2 tbsp unsweetened cocoa powder
- 1 tsp baking powder
- ¼ tsp baking soda
- ¼ tsp salt
- 4 large eggs
- ¾ cup granulated sugar
- 2 tbsp vegetable oil
- 1 tsp vanilla extract
- 1 tsp distilled white vinegar
- 2 tbsp buttermilk
- 1 tbsp red food coloring
- 8 oz (225 g) cream cheese, softened
- 1 cup powdered sugar
- 4 tbsp unsalted butter, softened
- 1 tsp vanilla extract
- 1 cup whipped cream (optional, for lighter texture)
- White chocolate drizzle (for decoration)
- Red velvet crumbs (for decoration)
Instructions
- Preheat oven to 350°F (175°C). Line a 10×15-inch jelly roll pan with parchment paper.
- In a bowl, sift flour, cocoa powder, baking powder, baking soda, and salt.
- In another bowl, beat eggs and sugar until pale and fluffy. Add oil, vanilla, vinegar, buttermilk, and red food coloring.
- Gently fold dry ingredients into wet until smooth.
- Spread batter evenly into prepared pan.
- Bake for 12–14 minutes, until cake springs back when lightly touched.
- While warm, invert cake onto a clean towel dusted with powdered sugar.
- Peel off parchment and gently roll cake with towel from short end. Let cool completely.
- Beat cream cheese, butter, powdered sugar, and vanilla until smooth.
- Fold in whipped cream if using for a lighter filling.
- Unroll cooled cake gently. Spread filling evenly across surface.
- Re-roll cake tightly without towel. Chill for at least 1 hour.
- Drizzle with melted white chocolate and sprinkle with red velvet crumbs.
- Slice into rounds and enjoy this rich, creamy, and stunning dessert!
Notes
- Ensure the cake is completely cool before spreading the filling to prevent it from melting.
- For a more intense red color, adjust the amount of red food coloring as desired.
- Store leftovers in the refrigerator for up to 3 days.
- Prep Time: 30 minutes
- Cook Time: 14 minutes
- Category: Dessert
- Method: Baking
- Cuisine: American
Nutrition
- Serving Size: 1 slice
- Calories: 250
- Sugar: 20g
- Sodium: 150mg
- Fat: 12g
- Saturated Fat: 7g
- Unsaturated Fat: 3g
- Trans Fat: 0g
- Carbohydrates: 30g
- Fiber: 1g
- Protein: 4g
- Cholesterol: 80mg


