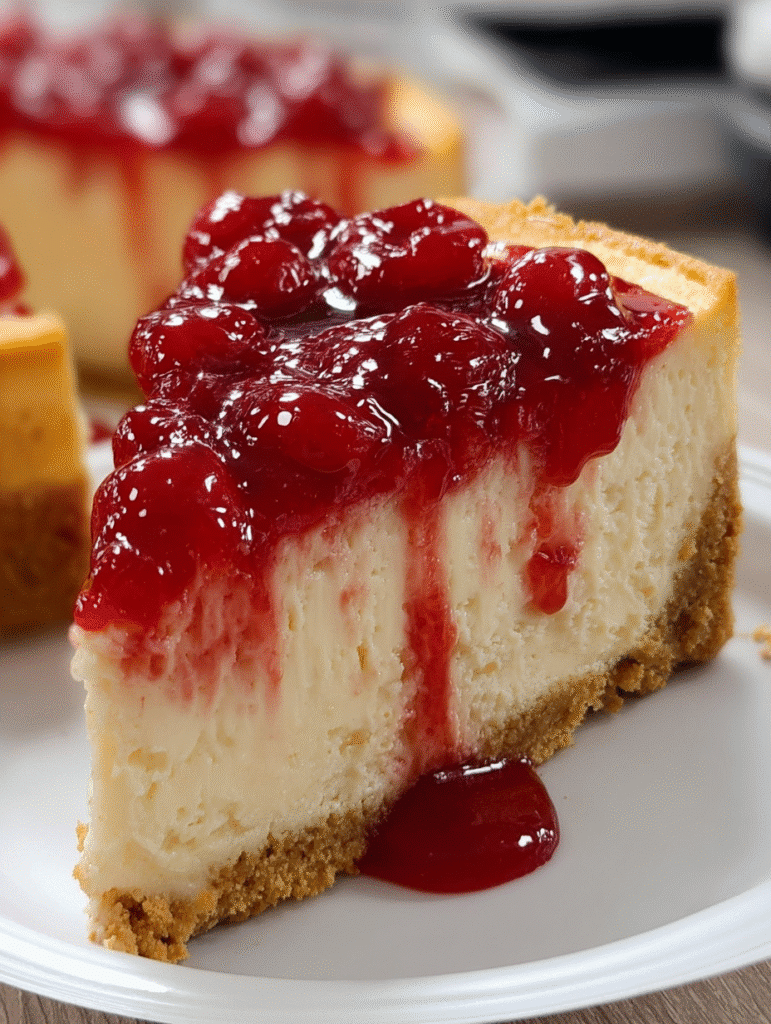
Introduction to Classic Cherry Cheesecake
There’s something magical about a Classic Cherry Cheesecake that brings back sweet memories. Maybe it’s the creamy texture or the vibrant cherry topping that makes it feel like a celebration on a plate. I often whip up this dessert when I want to impress my loved ones or simply indulge in a little self-care. It’s a quick solution for a busy day, yet it feels like a luxurious treat. Trust me, once you take that first bite, you’ll understand why this cheesecake is a timeless favorite in my kitchen!
Why You’ll Love This Classic Cherry Cheesecake
This Classic Cherry Cheesecake is a delightful blend of simplicity and flavor. It’s easy to make, even for those who might feel intimidated by baking. The creamy filling paired with the sweet cherry topping creates a taste sensation that’s hard to resist. Plus, it’s perfect for any occasion, whether it’s a family gathering or a cozy night in. You’ll find yourself coming back to this recipe time and again!
Ingredients for Classic Cherry Cheesecake
Gathering the right ingredients is the first step to creating a delicious Classic Cherry Cheesecake. Here’s what you’ll need:
- Graham cracker crumbs: These form the buttery crust. You can crush whole graham crackers if you prefer a fresher taste.
- Granulated sugar: This sweetens both the crust and the filling, balancing the flavors beautifully.
- Unsalted butter: Melted butter binds the crust together, giving it that rich, decadent flavor.
- Cream cheese: The star of the show! Softened cream cheese creates that creamy, dreamy filling we all love.
- Sour cream: This adds a tangy richness that elevates the cheesecake’s flavor profile.
- Eggs: They provide structure and help the cheesecake set perfectly.
- Vanilla extract: A splash of vanilla enhances the overall flavor, making it even more delightful.
- All-purpose flour (optional): Adding a bit of flour can help stabilize the filling, but it’s not necessary.
- Cherry pie filling: This sweet topping is what makes the cheesecake pop! You can use homemade or store-bought for convenience.
For exact measurements, check the bottom of the article where you can find everything listed for easy printing. Happy baking!
How to Make Classic Cherry Cheesecake
Now that you have all your ingredients ready, let’s dive into the delightful process of making this Classic Cherry Cheesecake. Each step is simple, and I promise, the end result will be worth every minute spent in the kitchen!
Step 1: Preheat the Oven
First things first, preheat your oven to 325°F (160°C). Preheating is crucial because it ensures that your cheesecake bakes evenly. A hot oven helps set the filling just right, giving you that creamy texture we all crave.
Step 2: Prepare the Crust
In a mixing bowl, combine the graham cracker crumbs, sugar, and melted butter. Stir until the mixture resembles wet sand. This is where the magic begins! Press the mixture firmly into the bottom of a 9-inch springform pan. Make sure it’s packed tightly; this will give you a sturdy base for your cheesecake.
Step 3: Bake the Crust
Pop the crust into the preheated oven and bake for about 10 minutes. You’ll know it’s ready when it’s lightly golden and fragrant. This step is essential for achieving that perfect crunch that contrasts beautifully with the creamy filling.
Step 4: Make the Cheesecake Filling
While the crust cools, let’s whip up the filling! In a large bowl, beat the softened cream cheese until it’s smooth and creamy. Gradually add in the sugar, mixing well. Then, add the eggs one at a time, ensuring each is fully incorporated before adding the next. Stir in the sour cream, vanilla extract, and optional flour. This mixture should be velvety and luscious!
Step 5: Pour and Bake
Now, pour the cheesecake filling over your cooled crust. Spread it evenly with a spatula. Place the cheesecake on the middle rack of the oven and bake for 50 to 55 minutes. The edges should be set, but the center will still jiggle slightly. This is the sweet spot for a creamy cheesecake!
Step 6: Cooling Process
Once baked, turn off the oven and crack the door open. Let the cheesecake cool in the oven for about an hour. This gentle cooling helps prevent cracks. After that, transfer it to the fridge and chill for at least 4 hours, or overnight if you can wait. Trust me, the flavors deepen beautifully!
Step 7: Add Cherry Topping
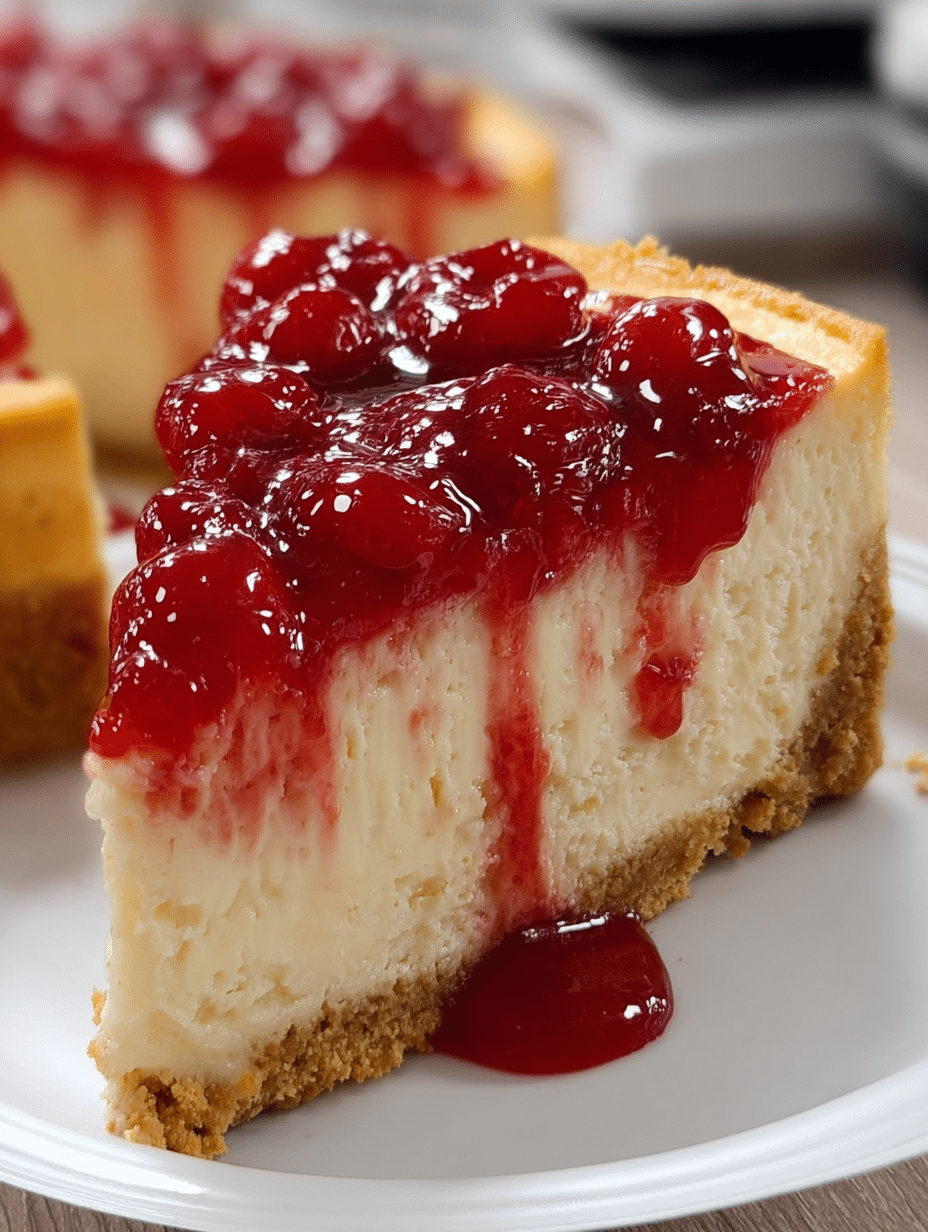
Finally, just before serving, spoon the cherry pie filling over the chilled cheesecake. You can be generous here! The vibrant red cherries add a pop of color and sweetness that makes this Classic Cherry Cheesecake truly irresistible.

Tips for Success
- Always use room temperature cream cheese for a smooth filling.
- Don’t skip the cooling step in the oven; it helps prevent cracks.
- Chill the cheesecake overnight for the best flavor and texture.
- For a fun twist, try adding a splash of lemon juice to the filling.
- Serve with a dollop of whipped cream for extra indulgence!
Equipment Needed
- 9-inch springform pan: Essential for easy removal. A regular cake pan works too, but it may be trickier to serve.
- Mixing bowls: Use a large bowl for the filling and a smaller one for the crust.
- Electric mixer: A hand mixer or stand mixer makes beating the cream cheese a breeze.
- Spatula: Perfect for spreading the filling evenly.
- Measuring cups and spoons: Accurate measurements ensure the best results!
Variations of Classic Cherry Cheesecake
- Chocolate Cherry Cheesecake: Add melted chocolate to the filling for a rich, decadent twist.
- Mini Cherry Cheesecakes: Use a muffin tin to create individual servings, perfect for parties!
- Gluten-Free Option: Substitute graham cracker crumbs with gluten-free cookies or almond flour for the crust.
- Fruit Variations: Swap cherry pie filling for other fruits like blueberries, strawberries, or peaches for a seasonal treat.
- Vegan Cherry Cheesecake: Use cashews blended with coconut cream and maple syrup for a dairy-free version.
Serving Suggestions for Classic Cherry Cheesecake
- Whipped Cream: A dollop of freshly whipped cream adds a light, airy touch.
- Fresh Berries: Serve with a side of mixed berries for a refreshing contrast.
- Mint Leaves: Garnish with mint leaves for a pop of color and freshness.
- Coffee: Pair with a rich cup of coffee to balance the sweetness.
- Presentation: Serve on a beautiful cake stand to impress your guests!
FAQs about Classic Cherry Cheesecake
As I’ve shared my love for this Classic Cherry Cheesecake, I often get questions from fellow home cooks. Here are some of the most common queries I’ve encountered, along with my answers to help you on your cheesecake journey!
Can I use a different fruit topping instead of cherries?
Absolutely! While cherries are a classic choice, you can easily swap them out for other fruits. Blueberries, strawberries, or even a mixed berry topping can add a delightful twist to your Classic Cherry Cheesecake.
How do I prevent my cheesecake from cracking?
To avoid cracks, make sure to cool your cheesecake gradually in the oven after baking. Cracking often happens due to sudden temperature changes. Also, using room temperature ingredients helps create a smooth filling.
Can I make this cheesecake ahead of time?
Yes! In fact, making your Classic Cherry Cheesecake a day in advance is a great idea. Chilling it overnight enhances the flavors and gives it a firmer texture, making it even more enjoyable!
What’s the best way to store leftovers?
Store any leftover cheesecake in an airtight container in the fridge. It should stay fresh for about 3 to 5 days. Just remember to add the cherry topping right before serving for the best presentation!
Can I freeze Classic Cherry Cheesecake?
Yes, you can freeze it! Wrap the cheesecake tightly in plastic wrap and then in aluminum foil. It can be frozen for up to 2 months. Thaw it in the fridge overnight before serving for the best texture.
Final Thoughts
Making a Classic Cherry Cheesecake is more than just baking; it’s about creating memories and sharing joy with those you love. Each slice is a little piece of happiness, bringing smiles and sweet moments to any gathering. I cherish the way this dessert can turn an ordinary day into something special. Whether it’s a birthday celebration or a cozy family dinner, this cheesecake is sure to impress. So, roll up your sleeves, gather your ingredients, and let the magic unfold in your kitchen. Trust me, the joy of sharing this treat is simply unbeatable!
Print
Classic Cherry Cheesecake: Discover the Perfect Recipe!
- Total Time: 4 hours 15 minutes (or overnight)
- Yield: 12 slices 1x
- Diet: Vegetarian
Description
A rich, creamy cheesecake with a buttery graham cracker crust, topped with sweet cherry glaze for a timeless dessert favorite.
Ingredients
- 1 ½ cups graham cracker crumbs
- ¼ cup granulated sugar
- ½ cup unsalted butter, melted
- 4 (8 oz) packages cream cheese, softened
- 1 cup granulated sugar
- 4 large eggs
- 1 cup sour cream
- 1 tsp vanilla extract
- 2 tbsp all-purpose flour (optional, for stability)
- 1 can (21 oz) cherry pie filling
Instructions
- Preheat oven to 325°F (160°C).
- Mix graham crumbs, sugar, and melted butter until sandy.
- Press firmly into the bottom of a 9-inch springform pan. Bake for 10 minutes.
- Beat cream cheese until smooth. Add sugar and mix well.
- Beat in eggs one at a time. Stir in sour cream, vanilla, and flour.
- Pour over the baked crust.
- Place cheesecake on the middle rack. Bake 50–55 minutes until edges are set and center jiggles slightly.
- Turn off oven, crack door open, and let cheesecake cool 1 hour inside.
- Chill in fridge at least 4 hours or overnight.
- Spoon cherry pie filling over the cheesecake before serving.
Notes
- For best results, use room temperature cream cheese.
- Chilling overnight enhances the flavor and texture.
- Optional: Add a dollop of whipped cream when serving.
- Prep Time: 20 minutes
- Cook Time: 55 minutes
- Category: Dessert
- Method: Baking
- Cuisine: American
Nutrition
- Serving Size: 1 slice
- Calories: 350
- Sugar: 25g
- Sodium: 300mg
- Fat: 22g
- Saturated Fat: 12g
- Unsaturated Fat: 8g
- Trans Fat: 0g
- Carbohydrates: 30g
- Fiber: 1g
- Protein: 6g
- Cholesterol: 90mg


